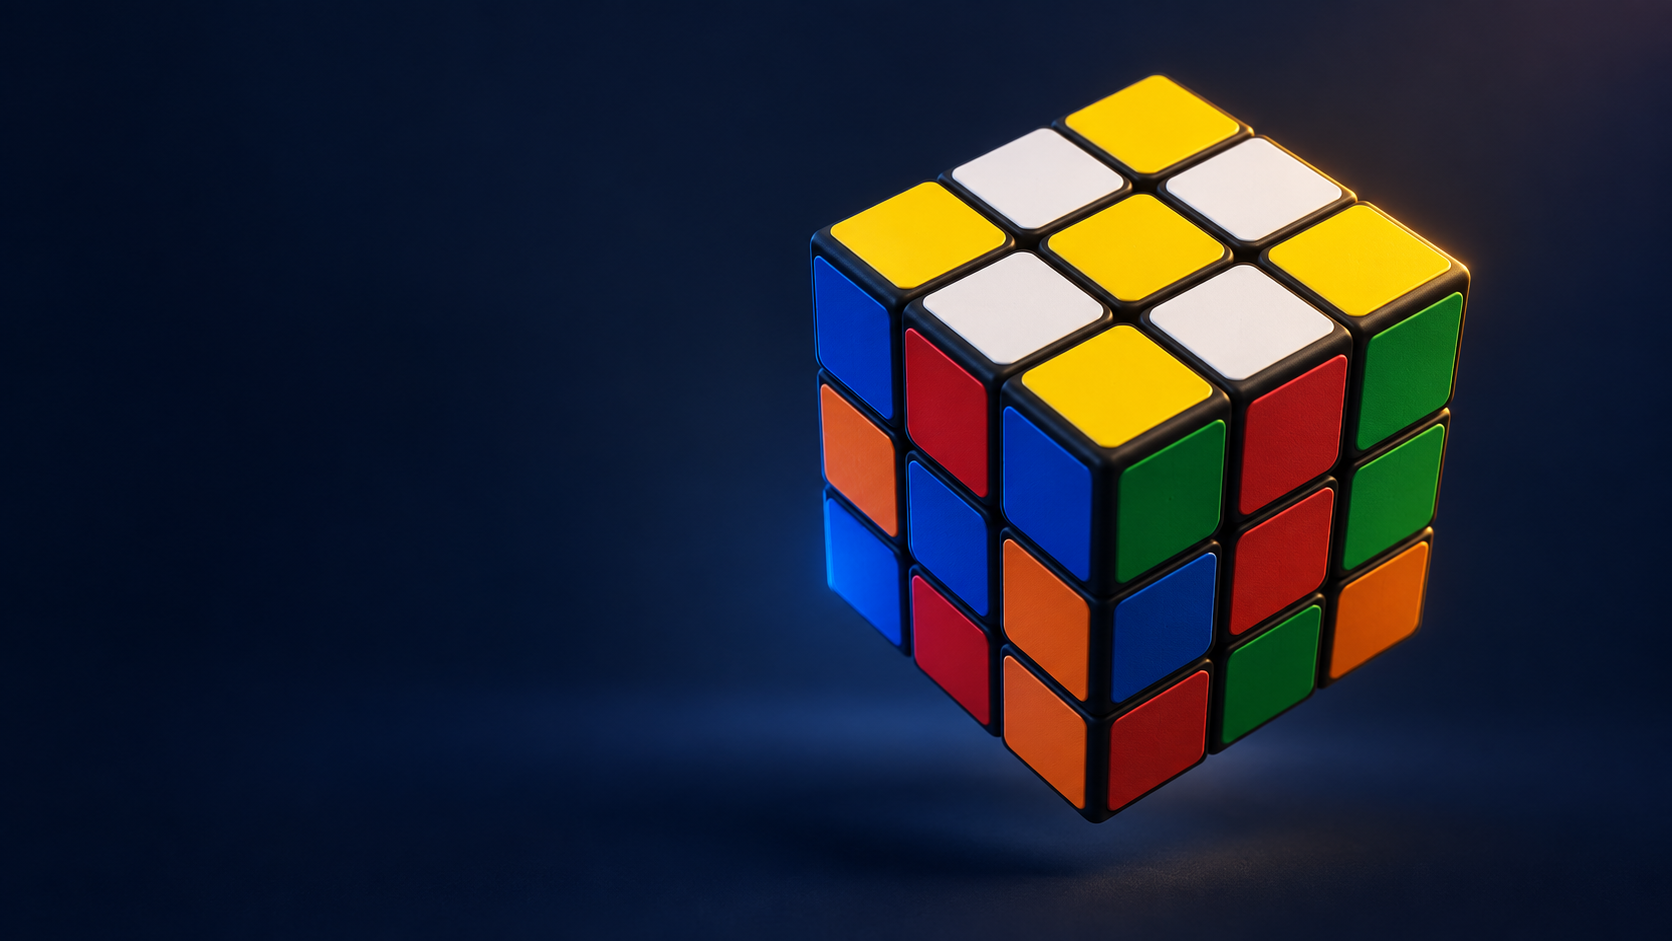
You probably changed your grip mid-algorithm or reversed a turn. Return to the starting orientation and complete one full algorithm before checking.
Notation
Set your viewing direction first
Unless a step says to rotate the whole cube, keep the same grip throughout an algorithm. A letter names the face to turn. A plain letter means clockwise, and a prime mark means counterclockwise.
Rright face
Lleft face
Uupper face
Ffront face
y′rotate the whole cube left
dturn the bottom two layers
R′right face counterclockwise
(…)³repeat the group 3 times
00
Starting point
Scramble
Scramble the cube well. When you begin, hold the yellow center on top and the white center on the bottom.
- Center pieces determine the final color of each face.
- Edge pieces have two colors. Corner pieces have three.
- Finish a full algorithm before stopping to inspect the pattern.
01
Bring the white edges upstairs
The daisy
Goal: place four white edge pieces around the yellow center. Keep each petal on top while you search for the next one.
1Keep yellow facing up.
2If a white edge already faces up, skip R³.
3Otherwise perform R R R.
4No white edge on top: turn d. White edge found: turn y′.
5Repeat until all four petals are in place.
The y′ rotation moves a found petal away and opens a new working position. If a white edge faces up before all three R turns are complete, stop R immediately and perform y′.
02
Match each petal, then send it down
White cross
Work on one petal at a time. Match its side color to the center of that side, then turn that face 180° to move the white edge to the bottom.
AlignU / U′Move downturn the matching face twice
- Check the side color of a white petal.
- Turn U until that color matches its center.
- Turn the matched face twice.
- Repeat for all four petals to form the white cross.
03
Place the corners
First layer
Find a corner containing white. Use its other two colors to identify the target slot, then place the corner at the upper front-right position above that slot.
R U R′ U′repeat as needed
- Move the target corner to the upper front-right position.
- Repeat the algorithm without rotating the cube.
- When the corner drops into place, move to the next one.
If a white corner is trapped in the bottom layer incorrectly, place it at the lower front-right position and repeat the same algorithm to remove it first.
RUR′U′
down · turn · up · back
04
Middle-layer edges
Second layer
Find a top-layer edge with no yellow. Match its front color to the front center, then decide whether the edge belongs in the left slot or the right slot.
Insert to the leftU′ F′ R U R′ U′ R′ F R
Insert to the rightU R U′ R′ y′ U′ R′ U R
No usable edge on top? If the second layer still contains a wrong edge, use either algorithm to insert any top edge. This ejects the wrong edge so you can solve it normally.
The lower two rows are complete
05
Watch only the yellow edges
Yellow cross
Ignore yellow corner stickers. Read the pattern made by the four yellow edges and use the same algorithm to advance from dot to L shape, line, and cross.
F R U R′ U′ F′at most 3 times when performed correctly
Dot
L shape
Line
Cross
Hold the L shape like “┌”. Hold the line horizontally. Stop and inspect the pattern after each algorithm.
06
Make the fish, then finish yellow
Solve the yellow face
Choose the upper front-right corner (RFU) so its sticker on the R face is yellow. If it is not, rotate the whole cube to select another corner.
(R U R′ U′)³ y (L′ U L U′)³
- Make sure the R sticker of the RFU corner is yellow.
- Perform the algorithm until the fish pattern appears.
- Point the fish head toward RF, the front-right direction.
- Repeat the same algorithm until the whole top is yellow.
07
Match the top corners
One pair of eyes
A pair of eyes means the two top-layer corner stickers on one side have the same color. Check all four sides. If you already have one pair, skip to the next stage.
L′ (U R U′ R′)² L (U R U′ R′)³ L′ (U R U′ R′)
If there are no eyes, hold the cube in any direction and perform the algorithm once to create one pair.
Matching corners = one pair of eyes
08
Place all top corners
Four pairs of eyes
Put the existing pair of eyes on the back face. Keep yellow on top and perform the previous algorithm once more.
Eyeson B, the back faceYellowstays on top
L′ (U R U′ R′)² L (U R U′ R′)³ L′ (U R U′ R′)
All four sides should now have matching top corners. The edge between each pair may still be incorrect.
Every side has a pair of eyes
09
Place the last-layer edges
Solve one bar
Check the edge between each pair of eyes. If one side already has three matching top stickers, you have a solved bar and can skip this algorithm.
(U R U′ R′)⁵ (U′ L U L′)⁵ U R U′ R′ U′ L U L′
Read the long algorithm in three parts: right trigger 5 times, left trigger 5 times, then one right trigger and one left trigger.
10
Final cycle
Solved cube
Put the completed bar on F, facing you. Perform the previous long algorithm again. The cube will solve in no more than two repetitions.
Fcompleted bar faces you
×1perform the “solve one bar” algorithm
Checkrepeat once if the cube is not solved
(U R U′ R′)⁵ (U′ L U L′)⁵ U R U′ R′ U′ L U L′at most 2 times
✓Solvedsix solid faces
If you get stuck
Three common problems
A wrong edge is trapped in the second layer. Insert any top edge to eject it, then solve the edge normally.
Watch only the pieces named in that stage. Ignore corners during the yellow cross, and inspect only the top corners during the eyes stages.